Honey Joys Recipe The Ultimate Guide to This Nostalgic Treat
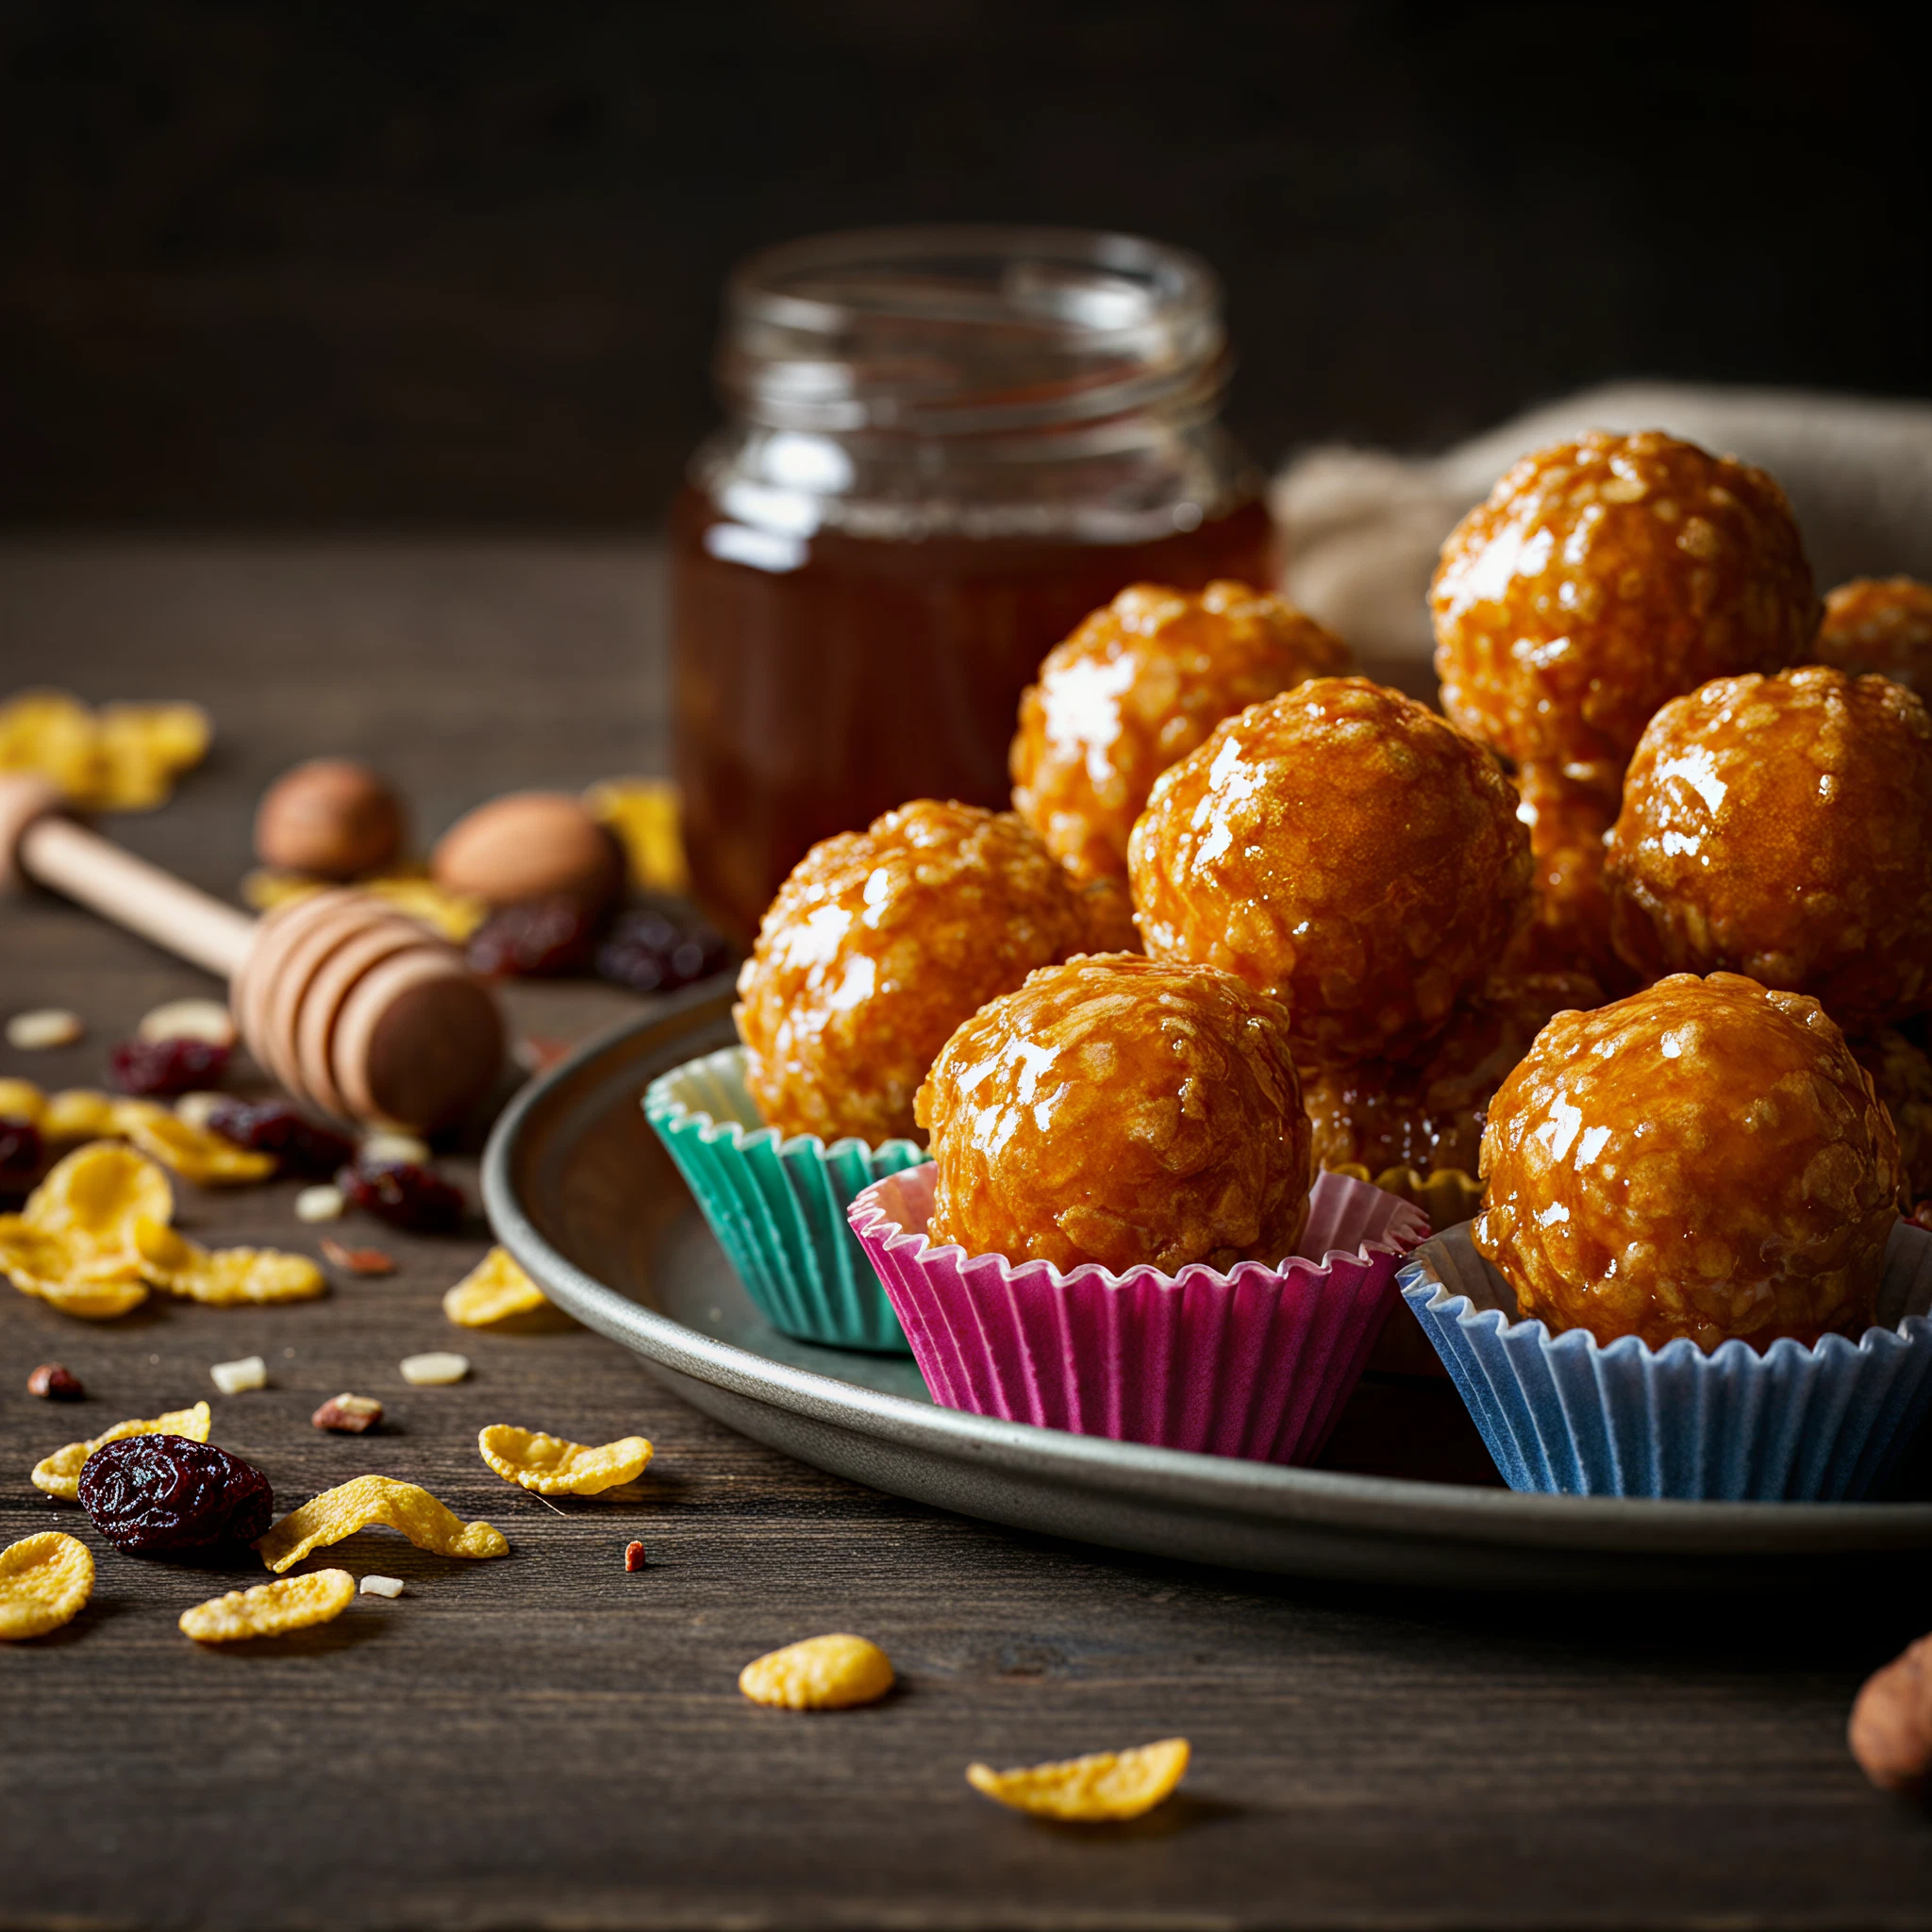
Honey Joys are a beloved classic treat, instantly bringing back childhood memories with their irresistible combination of crunchy cornflakes, sweet honey, and buttery goodness. This simple, no-bake recipe is perfect for parents looking for a quick and fun activity with their kids, home bakers seeking nostalgic flavors, or anyone in search of an easy and delicious snack. Get ready to discover the secrets of Honey Joys, where simplicity meets satisfaction in every golden bite.
Table of Contents
A Brief History of Honey Joys
Their appeal lies in the simplicity of the recipe, and the nostalgic charm they carry. While the exact origins of Honey Joys remain a bit mysterious, they are thought to have originated in Australia or New Zealand. For decades, these golden beauties have graced the tables of birthday parties, bake sales, and casual gatherings. Loved for their sweet and crunchy profile, Honey Joys have become woven into the culinary traditions of families across generations in Australasia.
Ingredients You’ll Need for Honey Joys
Here’s what you’ll need for a classic Honey Joys recipe:
- 4 cups of cornflakes
- 1/3 cup honey
- 1/3 cup sugar
- 90 grams (about 6 tablespoons) butter
- Muffin tin
- Paper cupcake liners
These pantry-friendly ingredients make Honey Joys quick and convenient to whip up anytime.
Step-by-Step Instructions for Making Honey Joys
Follow these simple steps to create the perfect Honey Joys:
1. Prepare Your Muffin Tin
Place paper cupcake liners into each slot of your muffin tin. This will ensure easy removal of the Honey Joys once they’ve set.
2. Melt the Butter, Sugar, and Honey
Combine the butter, sugar, and honey in a saucepan. Gently heat over low to medium flame, stirring occasionally, until the butter has melted and the sugar has dissolved. The mixture should be smooth and slightly bubbly.
3. Mix in the Cornflakes
Remove the saucepan from the heat. Pour the cornflakes into the honey mixture and gently stir until all the flakes are evenly coated.
4. Spoon Mixture into Liners
Using a spoon, carefully divide the mixture into the prepared liners. Press lightly to ensure each portion holds together nicely.
5. Bake
Preheat your oven to 300°F (150°C). Bake the Honey Joys for 8-10 minutes, or until they appear golden. Be mindful not to overbake, as this can affect the flavor.
6. Cool and Serve
Allow the Honey Joys to cool completely in the muffin tin before removing them. This step is crucial for them to set properly and stay intact.
Tips for Perfecting Honey Joys Every Time
Nailing Honey Joys is a piece of cake (or, in this case, a golden treat) when you keep these tips in mind:
- Measure accurately: Precise measurements ensure the right texture and flavor balance.
- Gentle mixing: Stir the cornflakes delicately to avoid crushing them.
- Even coating: Make sure all cornflakes are thoroughly coated with the honey mixture.
- Use quality ingredients: High-quality butter and honey will elevate the flavor.
- Don’t overbake: Stick to the recommended baking time to avoid burnt flavors.
- Cool completely: Allow the treats to cool in the tin before handling them.
- Store properly: Keep them in an airtight container for maximum crunch.
Creative Variations and Additions to Try
Take your Honey Joys to the next level with these fun variations:
- Chocolate Honey Joys: Add 1-2 tablespoons of cocoa powder to the melted mixture for a chocolatey twist.
- Nutty Honey Joys: Mix in chopped nuts like almonds or peanuts for an extra crunch.
- Fruity Honey Joys: Fold in dried fruits such as cranberries, raisins, or diced apricots.
- Spicy Honey Joys: Sprinkle in a pinch of cinnamon or nutmeg for a warm, spiced flavor.
- Gluten-Free Honey Joys: Use gluten-free cornflakes to cater to dietary restrictions.
These variations allow you to customize the recipe to suit your preferences, making it perfect for any occasion or palate.
How to Store Honey Joys
Proper storage is key to maintaining the delightful crunch of Honey Joys. Follow these tips:
- Store in an airtight container at room temperature.
- Avoid refrigerating them, as this can cause sogginess.
- They stay fresh for up to a week, though they rarely last that long!
Pro tip: To transport Honey Joys for events or picnics, layer them in a container with parchment paper between layers to prevent sticking.
Make These Sweet Moments Last
Honey Joys are more than just a treat—they’re a slice of nostalgia, a family-friendly activity, and a delicious way to elevate any occasion. Whether you stick to the classic recipe or experiment with exciting variations, these golden delights are sure to win hearts and taste buds alike.
Gather your ingredients, invite the kids to join the fun, and try this recipe today. Don’t forget to share your Honey Joy creations with us! Snap a photo and tag us on social media—we’d love to see your masterpiece.
Start your Honey Joy adventure now and experience the sweet satisfaction of this timeless treat. Happy baking!